Check List | PBL Model | Phase 2 Rubric
Dust Bowl: Phase 2 - Photo Collage
Photo Collage
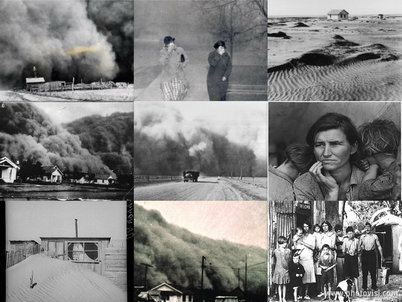
A photo collage is a combination of pictures placed together in an organized (or sometimes unorganized) way. In this project, we will take one image and add 8 different photos to the collage.
You get to decide which pictures you want to use, but you must choose 8. We will use two programs to help us with this project.
1. Google +
2. Photovisi
You will create the photo effects in Google+ and then you will use Photosvisi to create the collage. Later, when you get your Weebly website, you will upload your collage to your site.
Steps
Step 1 - Find a Picture
The first step to complete in this project is to find a picture you want to use. This can be any picture. You can find this picture by going to Google Images.
Step 2 - Save the Picture
Once you find the picture in Google images, press the Full-size Image link. This will take you to the large image. Now, right-click on the picture and select 'Save Pictures As...'
Name the file: Original
Step 3 - Copy the Image URL
Now that you've saved the file, you are ready to start on the collage. To do this, you need to first copy the URL of the image.
URL stands for Uniform Resource Locator. This is what we usually call the website address. It usually starts with http://www. The URL is a lot like an address for a house. Every website and every picture has its own unique address. This is how you can locate a file on the internet.
Once you have provided the link to your Photo Collage you will be provided with a link to your response.
